Form Validation
Validation is an important process while building web application. It ensures that the data that we are getting is proper and valid to store or process. CodeIgniter has made this task very easy. Let us understand this process with a simple example.
Example
Create a view file myform.php and save the below code it inapplication/views/myform.php. This page will display form where user can submit his name and we will validate this page to ensure that it should not be empty while submitting.
<html>

   <head>
      <title>My Form</title>
   </head>

   <body>
      <form action = "" method = "">
         <?php echo validation_errors(); ?>
         <?php echo form_open('form'); ?>
         <h5>Name</h5>
         <input type = "text" name = "name" value = "" size = "50" />
         <div><input type = "submit" value = "Submit" /></div>
      </form>
   </body>

</html>
Create a view file formsuccess.php and save it inapplication/views/formsuccess.php. This page will be displayed if the form is validated successfully.
<html>

   <head>
      <title>My Form</title>
   </head>

   <body>
      <h3>Your form was successfully submitted!</h3>
      <p><?php echo anchor('form', 'Try it again!'); ?></p>
   </body>

</html>
Create a controller file Form.php and save it inapplication/controller/Form.php. This form will either, show errors if it is not validated properly or redirected to formsuccess.php page.
<?php

   class Form extends CI_Controller {

      public function index() {
         /* Load form helper */
         $this->load->helper(array('form'));

         /* Load form validation library */
         $this->load->library('form_validation');

         /* Set validation rule for name field in the form */
         $this->form_validation->set_rules('name', 'Name', 'required');

         if ($this->form_validation->run() == FALSE) {
         $this->load->view('myform');
         }
         else {
            $this->load->view('formsuccess');
         }
      }
   }
?>
Add the following line in application/config/routes.php.
$route['validation'] = 'Form';
Let us execute this example by visiting the following URL in the browser. This URL may be different based on your site.
http://yoursite.com/index.php/validation
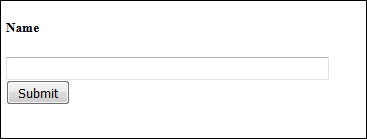
It will produce the following screen −
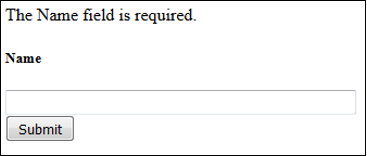
We have added a validation in the controller − Name is required field before submitting the form. So, if you click the submit button without entering anything in the name field, then you will be asked to enter the name before submitting as shown in the screen below.
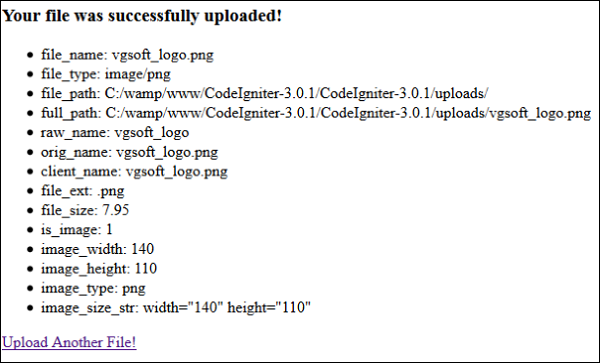
After entering the name successfully, you will be redirected to the screen as shown below.

In the above example, we have used the required rule setting. There are many rules available in the CodeIgniter, which are described below.
Validation Rule Reference
The following is a list of all the native rules that are available to use −